Tie dye hibiscus plant – Prepare to be mesmerized by the art of tie-dyeing hibiscus plants! This captivating guide will lead you through the enchanting world of tie-dye techniques, empowering you to transform your hibiscus plants into mesmerizing masterpieces.
Unleash your creativity and delve into the vibrant hues and intricate patterns that await you in this captivating journey.
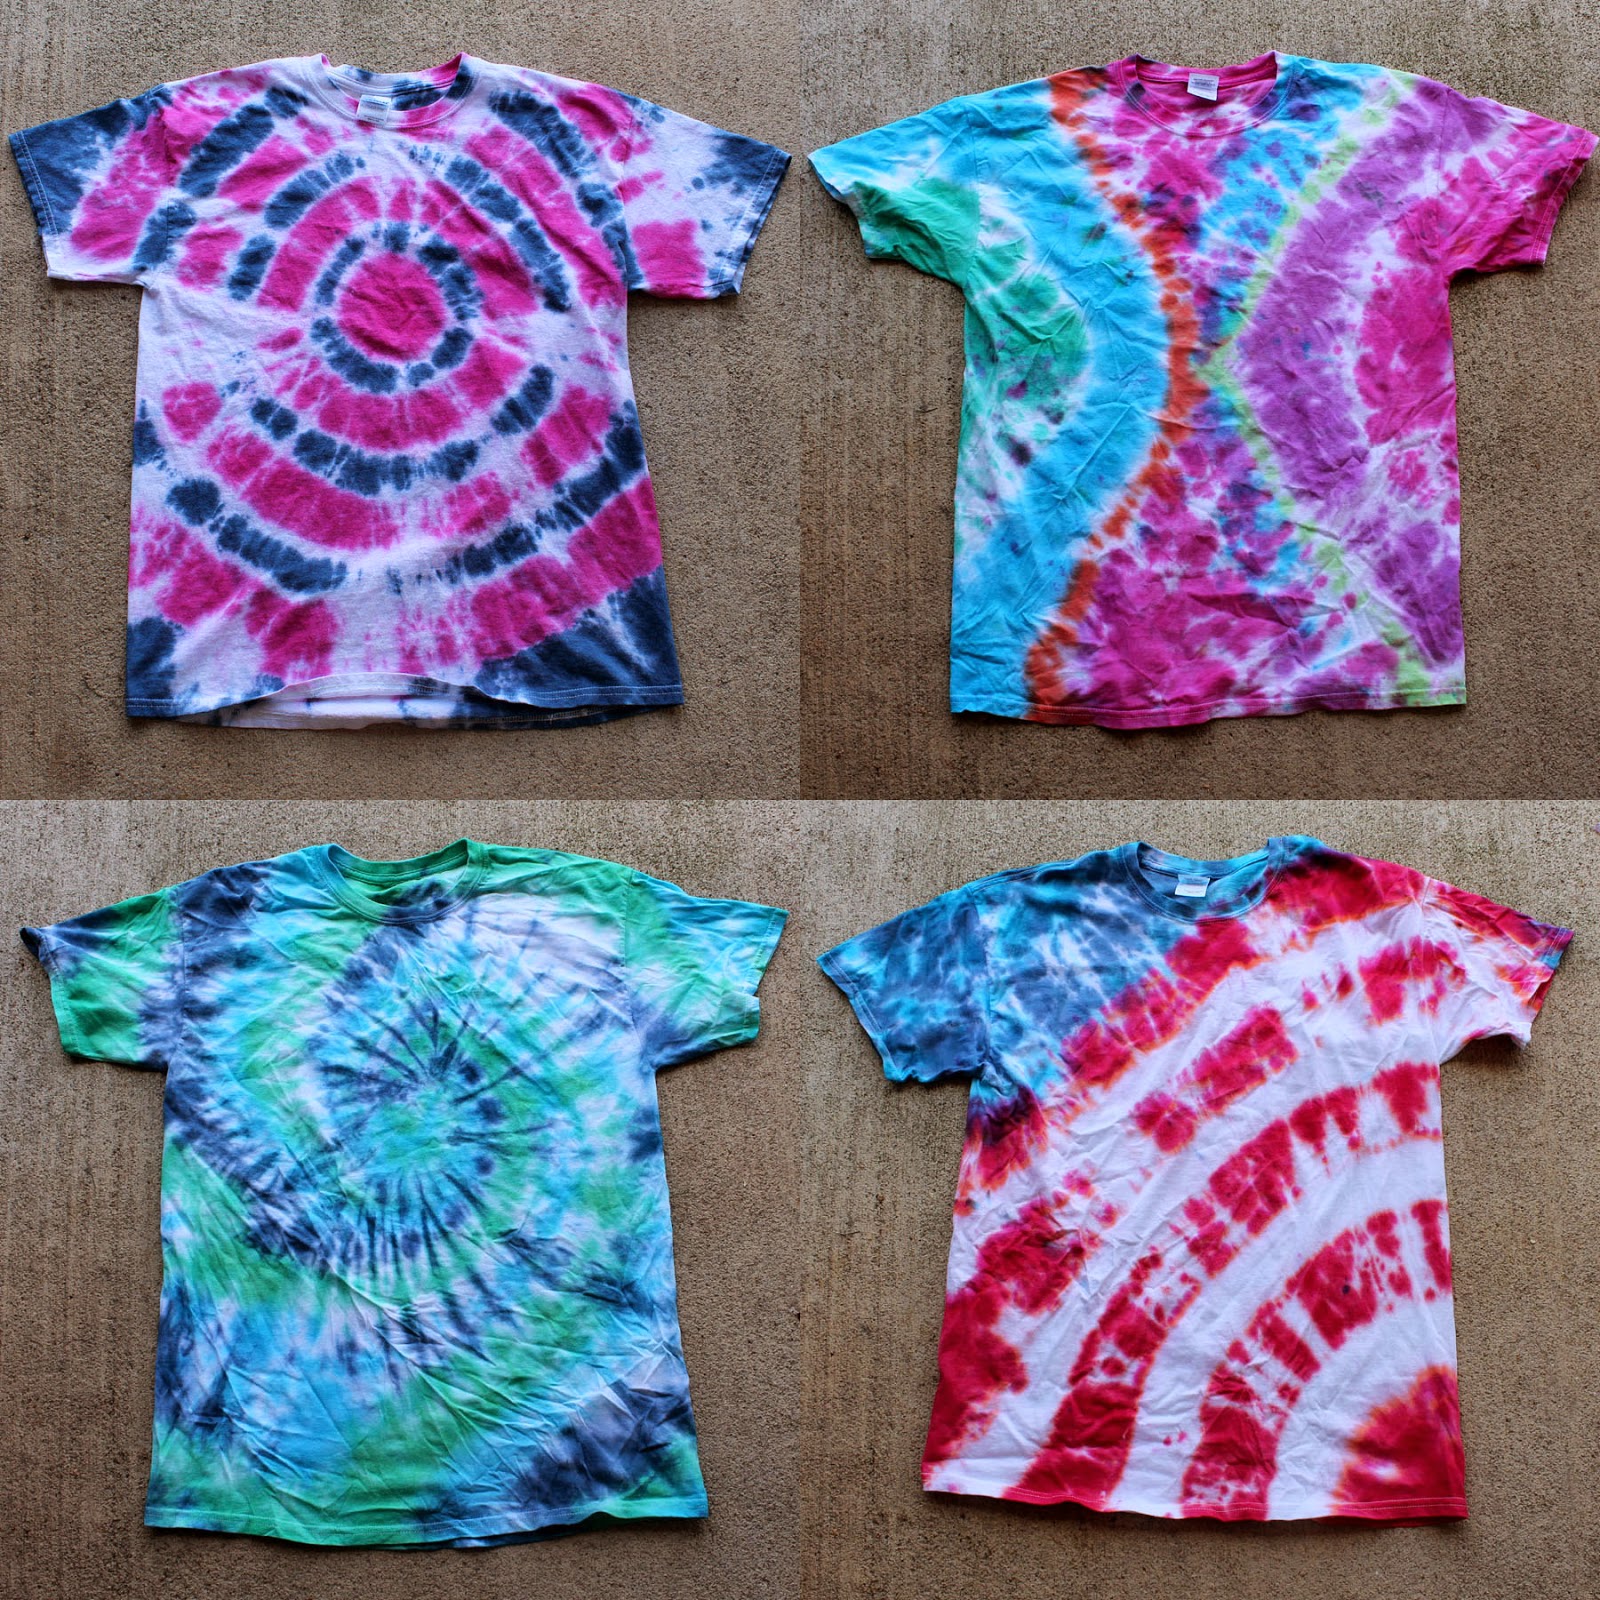
Tie-Dyeing Techniques

Tie-dyeing is a vibrant and creative way to add a splash of color to your hibiscus plants. With various techniques available, you can create unique and eye-catching patterns on your hibiscus leaves and flowers. From simple folding methods to intricate knotting, each technique yields distinct results, allowing you to express your artistic flair.
Before embarking on your tie-dyeing adventure, it’s essential to gather the necessary materials. You’ll need plain white or light-colored hibiscus plants, fabric dyes in your desired colors, rubber bands, gloves, and a large container or bucket for mixing the dye solutions. Remember to wear protective gloves throughout the process to prevent skin staining.
Folding Techniques
Folding techniques are the simplest and most accessible methods for tie-dyeing hibiscus plants. By folding and securing the leaves or flowers with rubber bands, you can create geometric patterns and color combinations. Some popular folding techniques include:
- Accordion Fold: Fold the leaf or flower in a series of accordion-like pleats, securing each pleat with a rubber band.
- Spiral Fold: Roll the leaf or flower tightly from one end to the other, securing it with rubber bands at regular intervals.
- Triangle Fold: Fold the leaf or flower into a triangle shape, securing the corners with rubber bands.
Hibiscus Plant Care for Tie-Dyeing
To ensure successful tie-dyeing of hibiscus plants and maintain their health and vitality, specific care requirements must be adhered to throughout the process. This includes proper soil preparation, watering, and sunlight exposure, both before and after the tie-dyeing procedure.
Soil Preparation
Hibiscus plants thrive in well-drained soil with a pH between 6.0 and 6.5. Before planting, amend the soil with organic matter such as compost or peat moss to improve drainage and fertility. The soil should be loose and crumbly, allowing for proper root development and water penetration.
Watering
Water hibiscus plants deeply and regularly, especially during hot and dry weather. Allow the soil to dry out slightly between waterings to prevent root rot. Avoid overwatering, as this can lead to yellowing leaves and stunted growth.
Sunlight
Hibiscus plants require ample sunlight to produce vibrant blooms. Place them in a location that receives at least six hours of direct sunlight per day. If sunlight is limited, consider supplementing with artificial light.
Post-Tie-Dyeing Care
After tie-dyeing, hibiscus plants may experience some stress. To help them recover and maintain their health, provide extra care by:
- Watering regularly to prevent dehydration.
- Fertilizing monthly with a balanced fertilizer.
- Protecting from extreme temperatures and strong winds.
With proper care, hibiscus plants will continue to thrive and produce beautiful, vibrant blooms even after the tie-dyeing process.
Tie-Dye Patterns and Designs: Tie Dye Hibiscus Plant
Tie-dyeing hibiscus plants is an art form that allows for endless creativity and expression. By manipulating the way the dye is applied, you can create a wide range of patterns and designs on your plants.
Some of the most popular tie-dye patterns include:
Spirals
To create a spiral tie-dye pattern, start by tying a rubber band around the stem of your hibiscus plant, just below the flower. Then, twist the flower clockwise or counterclockwise, and tie another rubber band around the stem, just above the flower. Repeat this process until you have created a spiral pattern on the flower.
Stripes
To create a stripe tie-dye pattern, start by tying rubber bands around the stem of your hibiscus plant, at even intervals. Then, dip the flower into the dye bath, and let it sit for the desired amount of time. Remove the flower from the dye bath, and let it dry.
Ombre Effects
To create an ombre tie-dye pattern, start by tying rubber bands around the stem of your hibiscus plant, at different heights. Then, dip the flower into the dye bath, and let it sit for the desired amount of time. Remove the flower from the dye bath, and let it dry.
Color Combinations
The colors you use to tie-dye your hibiscus plants will also affect the overall design. For example, using bright, contrasting colors will create a more vibrant and eye-catching pattern, while using more muted colors will create a more subtle and sophisticated look.
Dye Types, Tie dye hibiscus plant
There are a variety of different dyes that can be used to tie-dye hibiscus plants. Some of the most popular dyes include:
- Rit Dye
- iDye Poly
- Jacquard Procion MX Dyes
The type of dye you use will depend on the desired color and effect.