Repot plants in winter – Repotting plants in winter may seem counterintuitive, but it can provide numerous benefits for your indoor greenery. As the days get shorter and temperatures drop, understanding the reasons behind repotting in winter, selecting suitable plants, and following a step-by-step guide will ensure your plants thrive during the colder months.
By considering factors such as root health, pot size, and plant type, you can make informed decisions about whether and how to repot your plants during winter. With proper care and attention, repotting in winter can promote healthy growth and longevity for your indoor plant companions.
Reasons for Repotting Plants in Winter

Repotting plants during winter offers several benefits. Firstly, it allows plants to adjust to their new environment during the dormant season, reducing stress and promoting root development. Additionally, repotting in winter prevents rootbound conditions, where roots become entangled and restrict plant growth.
Factors to Consider
When deciding whether to repot a plant in winter, consider factors such as the plant’s size, health, and species. Larger plants may require repotting more frequently, while smaller plants can generally wait longer. Healthy plants are more likely to withstand the stress of repotting than unhealthy ones. Some plant species, such as succulents and cacti, prefer to be repotted during warmer months, while others, like ferns and orchids, can tolerate winter repotting.
Selecting Plants for Winter Repotting

Not all plants are suitable for repotting in winter. Some plants, such as those that are actively growing or flowering, should not be repotted during this time. However, there are a number of plants that can tolerate or even benefit from being repotted in winter.
When selecting plants for winter repotting, it is important to choose plants that are:
- Dormant or semi-dormant during winter
- Hardy and can tolerate cool temperatures
- Not actively growing or flowering
Some good choices for winter repotting include:
- Deciduous trees and shrubs, such as Japanese maples, azaleas, and roses
- Evergreen trees and shrubs, such as pines, firs, and spruces
- Perennials, such as hostas, daylilies, and irises
When choosing a pot for your plant, it is important to select one that is the right size and type.
- The pot should be large enough to accommodate the plant’s root system, but not so large that the plant becomes pot-bound.
- The pot should have drainage holes to prevent the soil from becoming waterlogged.
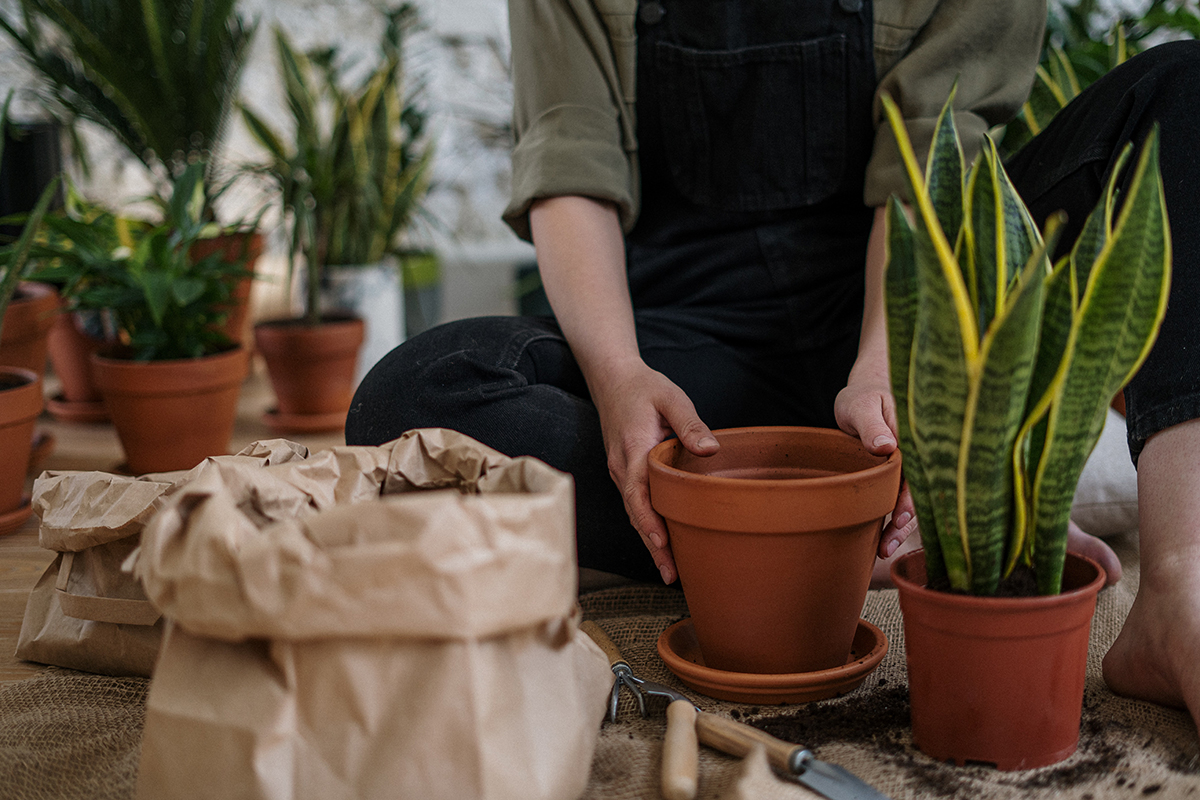
- The material of the pot is also important. Clay pots are porous and allow air and water to pass through, which is beneficial for most plants. Plastic pots are less porous and can retain moisture, which can be beneficial for plants that prefer moist soil.
Step-by-Step Guide to Repotting Plants in Winter: Repot Plants In Winter

Repotting plants in winter requires careful planning and execution to minimize stress on the plant. Here’s a detailed step-by-step guide to ensure a successful repotting experience:
Removing the Plant from Its Current Pot
- Water the plant thoroughly a few hours before repotting to loosen the soil and make it easier to remove.
- Gently tap the sides of the pot to loosen the soil further.
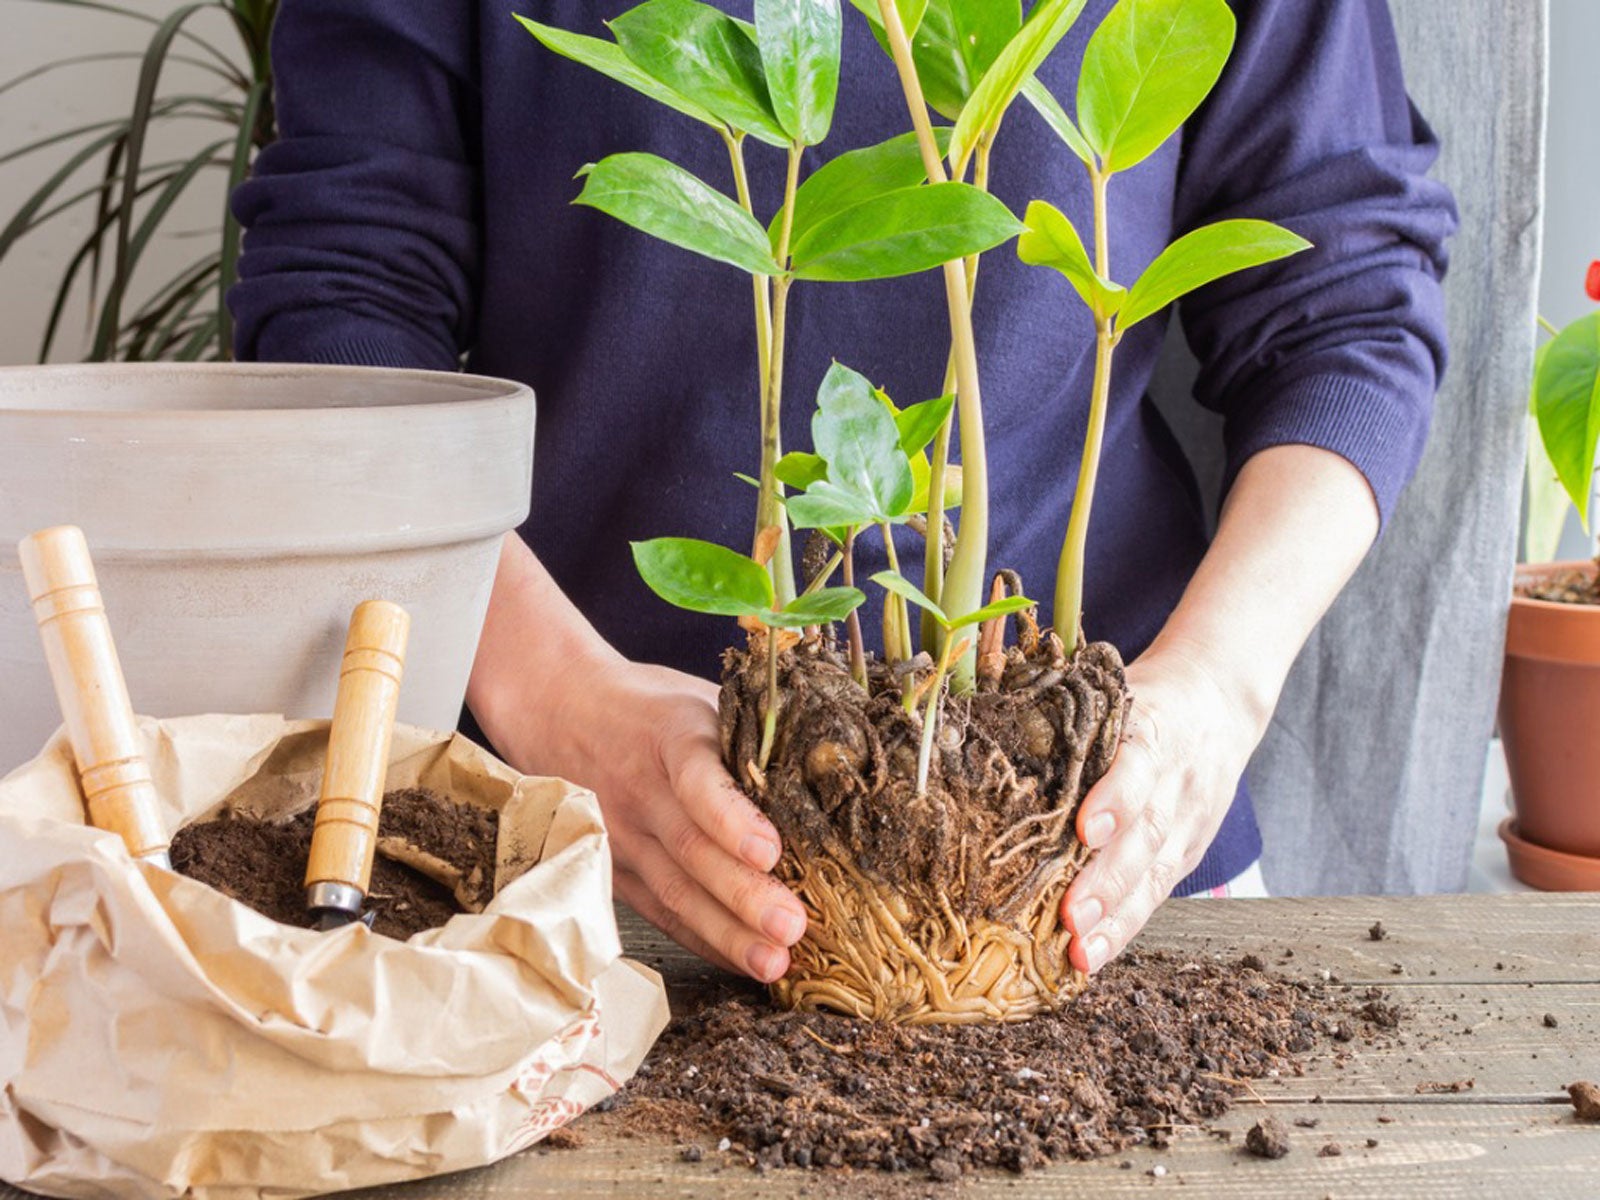
- Turn the pot upside down and carefully slide the plant out, supporting the base of the stem with one hand.
- If the plant is rootbound, use a sharp knife to carefully cut through the roots around the edges of the pot.
Preparing the New Pot, Repot plants in winter
- Choose a pot that is slightly larger than the current one, with adequate drainage holes.
- Fill the bottom of the new pot with a layer of fresh potting mix.
- Create a small mound of potting mix in the center of the pot, deep enough to accommodate the plant’s root ball.
Repotting the Plant
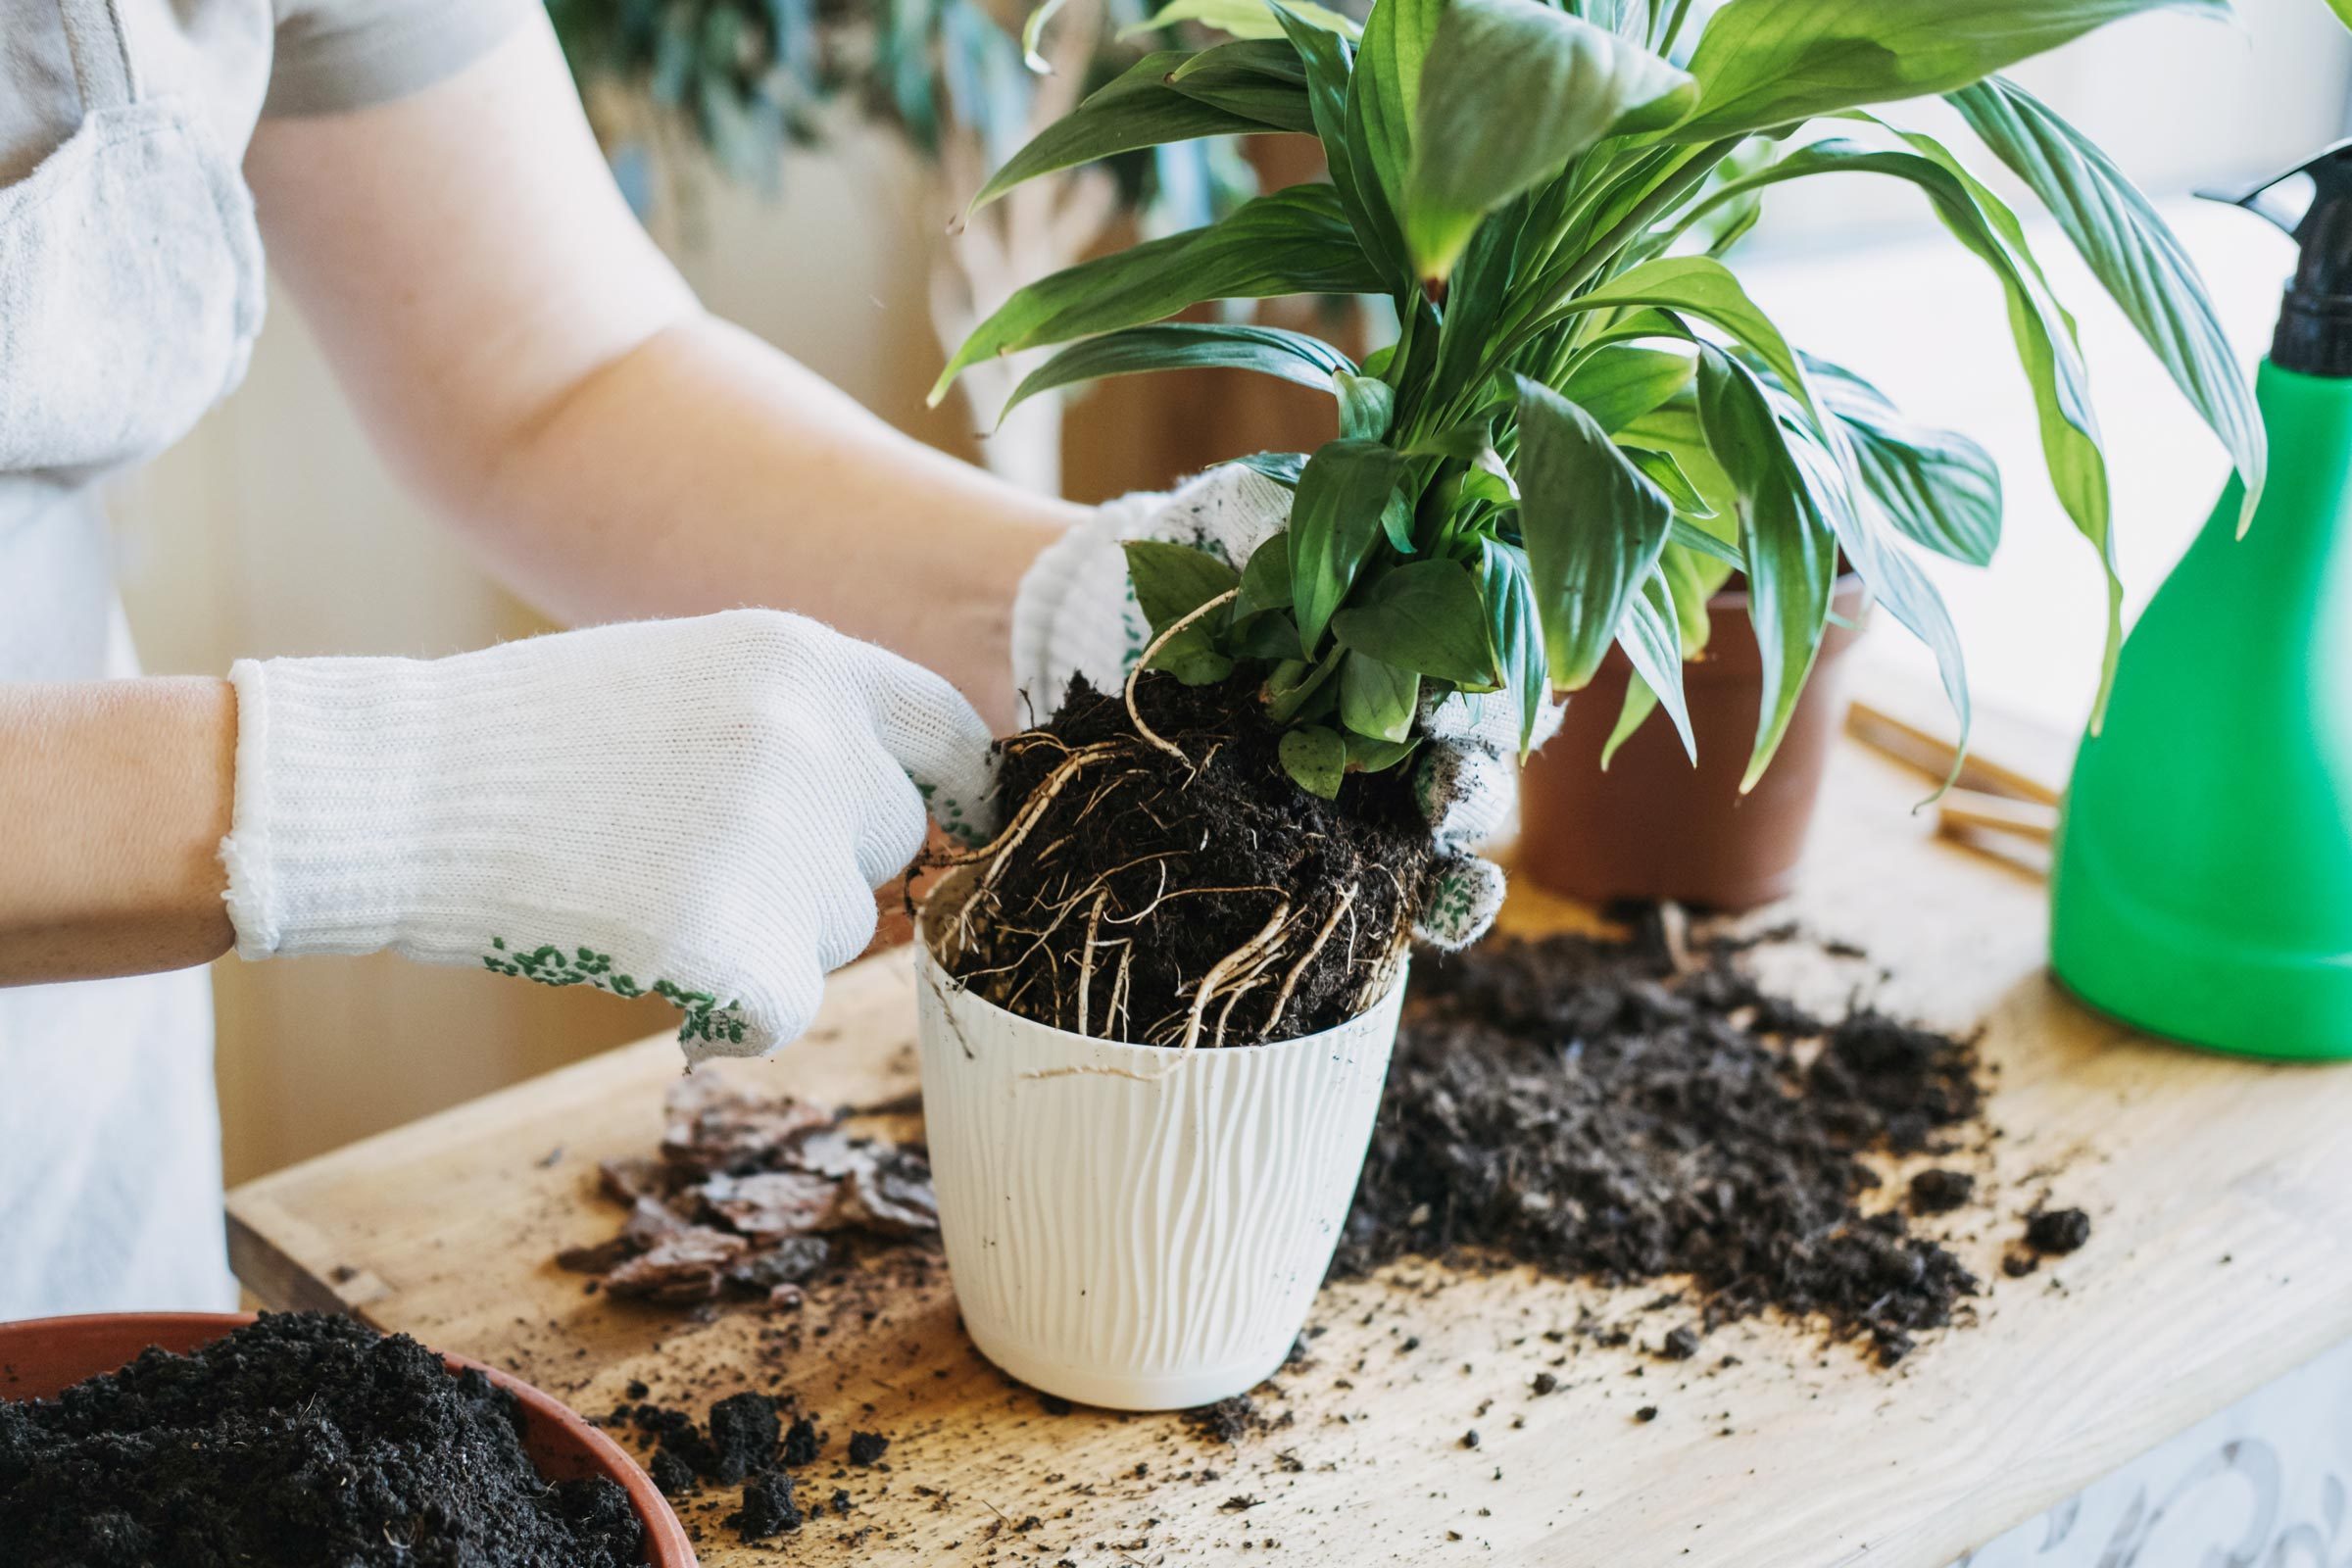
- Place the plant in the new pot, centering it over the mound of potting mix.
- Gently fill in the remaining space around the root ball with potting mix, pressing down lightly to firm it.
- Water the plant thoroughly and allow excess water to drain.
- Place the plant in a warm, well-lit location and monitor its progress.
