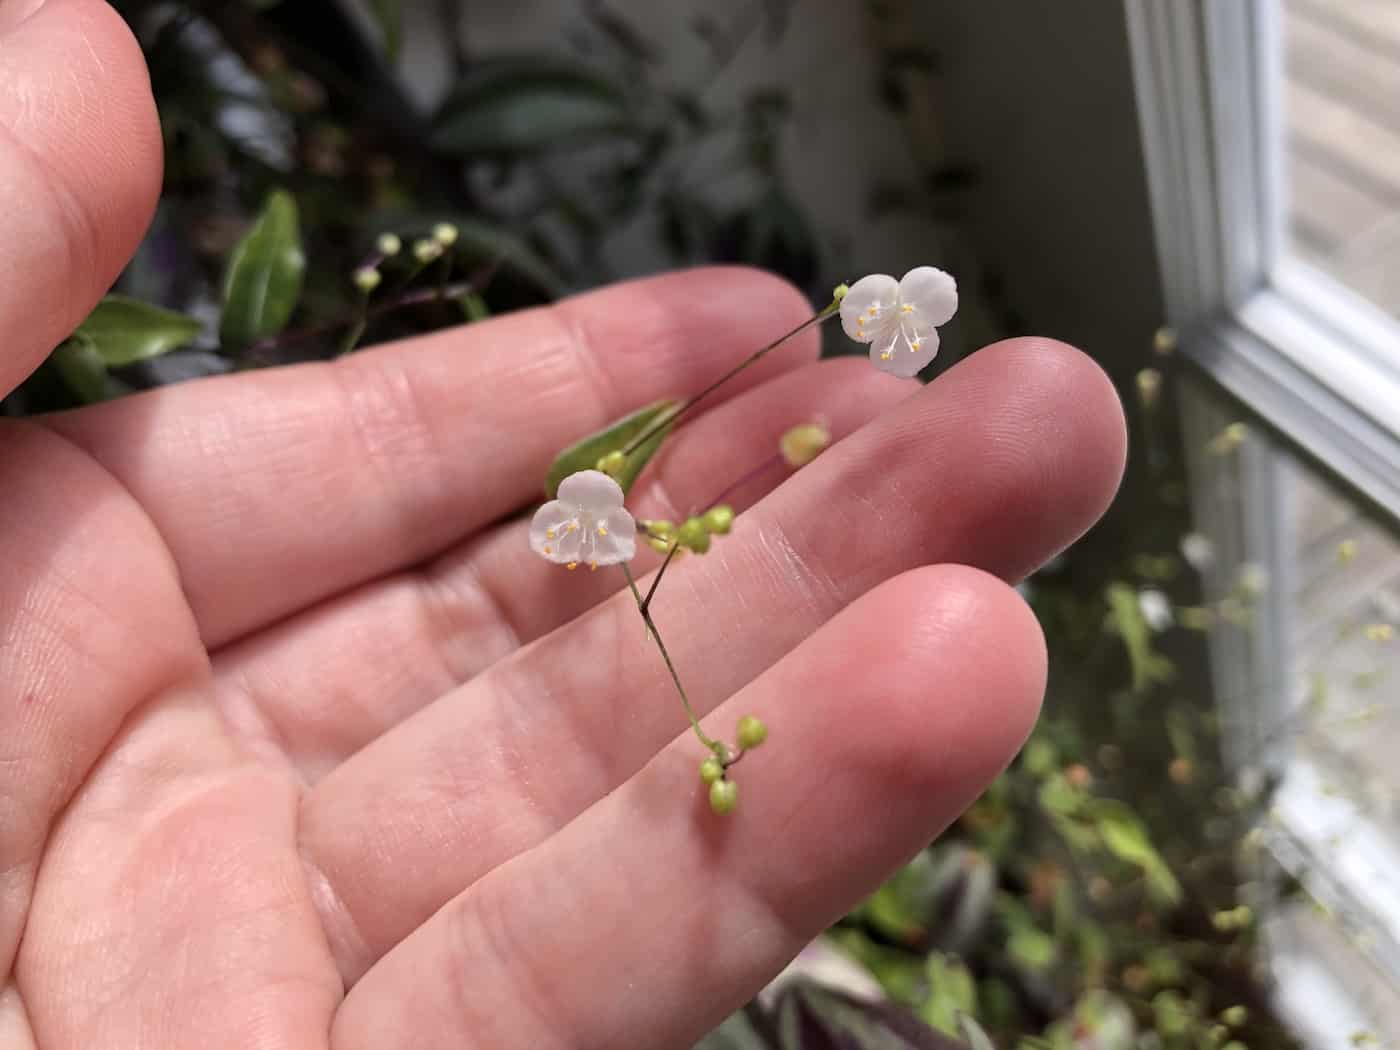
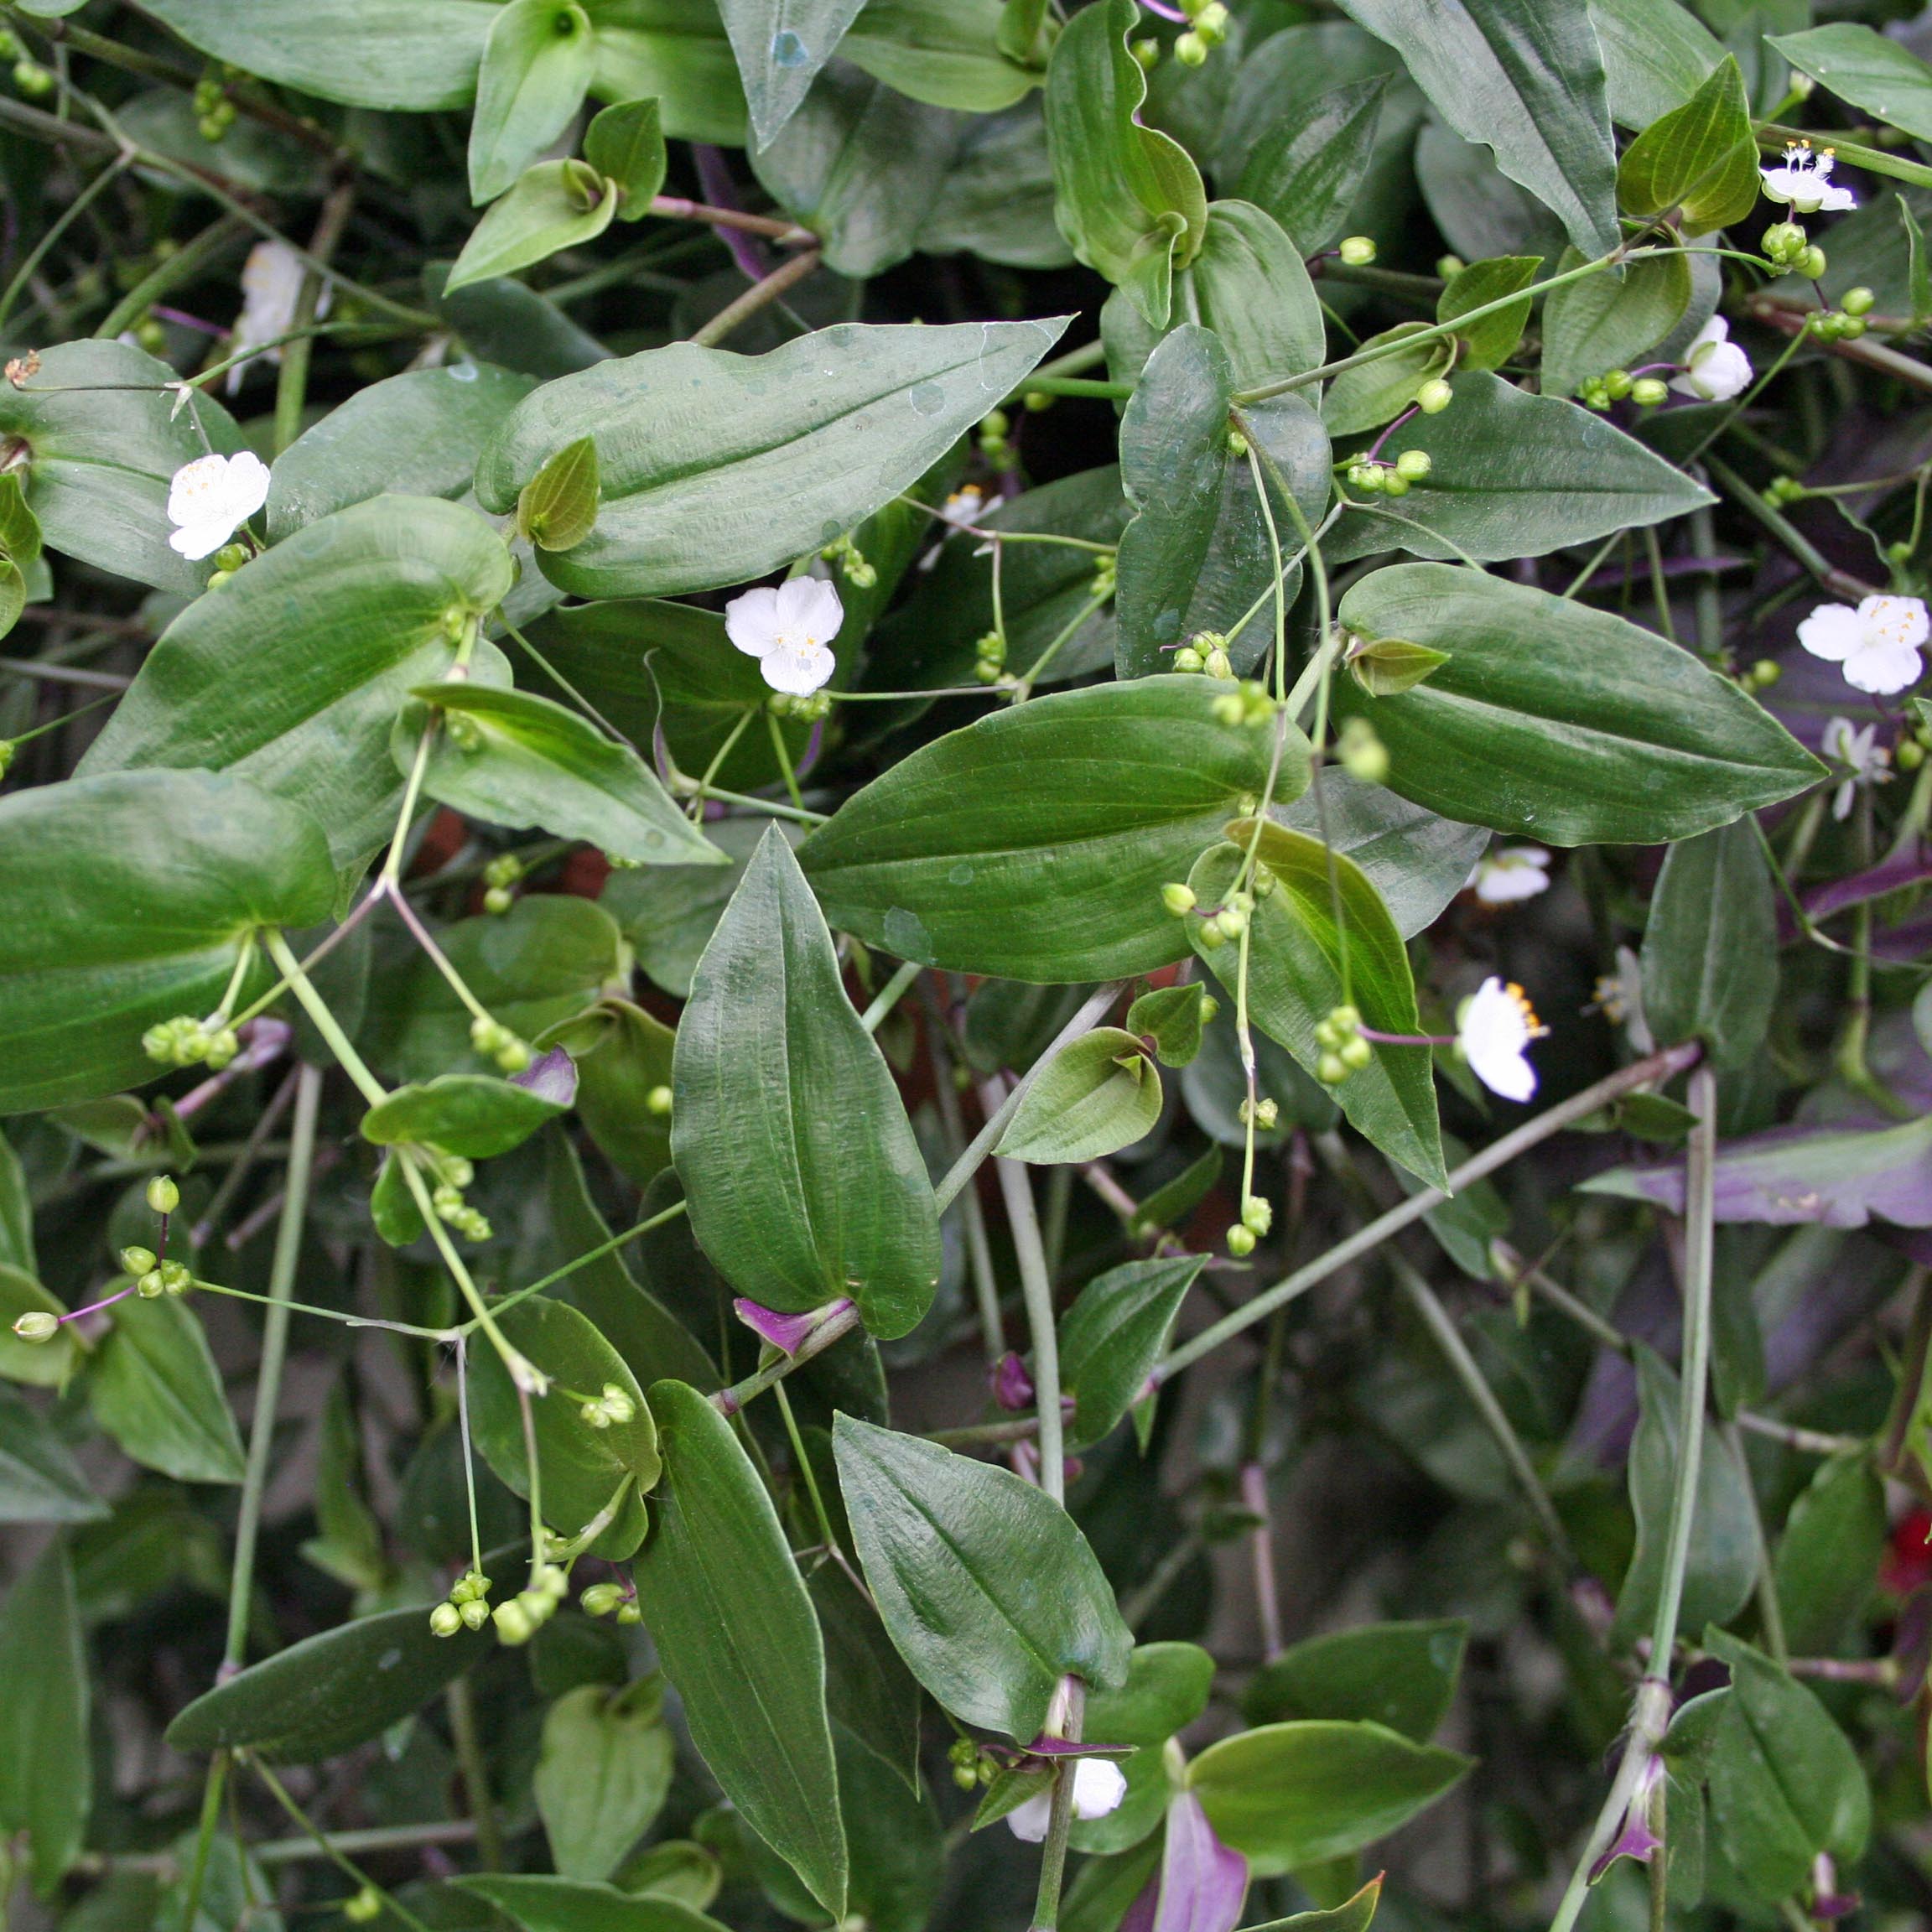
Bridal veil plant indoor – The delicate and flowing foliage of the bridal veil plant (Soleirolia soleirolii) makes it a captivating choice for indoor gardeners. With its cascading growth habit and ability to thrive in a wide range of environments, this versatile plant adds a touch of elegance and greenery to any space.
In this comprehensive guide, we will delve into the intricacies of bridal veil plant care, exploring the optimal conditions for its growth and development. We will also uncover the secrets of successful propagation, empowering you to expand your collection of these enchanting plants.
Bridal Veil Plant Care Guide: Bridal Veil Plant Indoor

The bridal veil plant, known for its delicate and flowing foliage, is a popular choice for indoor gardening. With proper care, it can thrive and add a touch of elegance to any room. Here’s a comprehensive guide to caring for a bridal veil plant indoors:
Watering
Bridal veil plants prefer consistently moist soil but avoid overwatering, as it can lead to root rot. Water thoroughly when the top inch of soil feels dry to the touch. During the growing season (spring and summer), water more frequently, and reduce watering in the fall and winter when the plant goes dormant.
Light
These plants thrive in bright, indirect light. Avoid direct sunlight, as it can scorch the leaves. East- or west-facing windows provide ideal lighting conditions. If natural light is insufficient, supplement with artificial light using grow lamps.
Humidity
Bridal veil plants prefer high humidity levels. Mist the leaves regularly or place the pot on a tray filled with pebbles and water. Alternatively, you can use a humidifier to increase the humidity in the room.
Fertilization
Fertilize the plant every two weeks during the growing season with a balanced liquid fertilizer diluted to half strength. Avoid overfertilizing, as it can damage the roots.
Common Problems, Bridal veil plant indoor
Yellowing Leaves: Overwatering, insufficient light, or nutrient deficiency can cause yellowing leaves. Adjust watering and light conditions and fertilize regularly.
Leaf Drop: Underwatering, overwatering, or extreme temperature fluctuations can lead to leaf drop. Ensure consistent watering, provide adequate light, and avoid placing the plant near heating or cooling vents.
Pests: Mealybugs, aphids, and spider mites can infest bridal veil plants. Treat infestations promptly with insecticidal soap or neem oil.
Pruning and Repotting
Regular pruning encourages bushier growth and removes dead or damaged leaves. Repot the plant every 2-3 years or when it becomes rootbound. Use a well-draining potting mix and a pot with drainage holes.
Bridal Veil Plant Propagation

Bridal veil plants can be easily propagated using various methods. The most common techniques include stem cuttings, division, and air layering. Each method has its advantages and disadvantages, and the choice of method depends on factors such as the desired number of plants, the time of year, and the available resources.
Stem Cuttings
Stem cuttings are the most common method of propagating bridal veil plants. This method involves taking a cutting from a healthy stem and rooting it in a new pot. The best time to take stem cuttings is during the growing season, which is typically from spring to early fall. To take a stem cutting, follow these steps:
- Select a healthy stem that is at least 4 inches long.
- Use a sharp knife or pruning shears to cut the stem just below a leaf node.
- Remove the leaves from the bottom inch of the stem.
- Dip the end of the stem in rooting hormone.
- Plant the cutting in a pot filled with a well-draining potting mix.
- Water the cutting well and place it in a warm, humid location.
- Keep the cutting moist and in bright, indirect light.
- Roots should form within 4 to 6 weeks.
The advantages of propagating bridal veil plants by stem cuttings include:
- It is a relatively easy and inexpensive method.
- It can be used to produce a large number of plants quickly.
- The new plants will be genetically identical to the parent plant.
The disadvantages of propagating bridal veil plants by stem cuttings include:
- It can be time-consuming to root the cuttings.
- The cuttings may not always root successfully.
- Carefully dig up the plant.
- Use a sharp knife or pruning shears to divide the plant into two or more sections.
- Each section should have at least one healthy stem and a good root system.
- Plant the divisions in individual pots filled with a well-draining potting mix.
- Water the plants well and place them in a warm, humid location.
- Keep the plants moist and in bright, indirect light.
- The plants should establish themselves within a few weeks.
- It is a relatively easy and inexpensive method.
- It can be used to produce a large number of plants quickly.
- The new plants will be genetically identical to the parent plant.
- It can damage the parent plant.
- The divisions may not always establish themselves successfully.
- Select a healthy stem that is at least 4 inches long.
- Make a small cut in the stem just below a leaf node.
- Insert a small piece of rooting hormone into the cut.
- Wrap the cut area with moist sphagnum moss.
- Cover the sphagnum moss with plastic wrap or aluminum foil.
- Secure the plastic wrap or aluminum foil with tape.
- Keep the sphagnum moss moist.
- Roots should form within 4 to 6 weeks.
- Once the roots have formed, cut the stem below the roots and pot the new plant in a well-draining potting mix.
- It is a relatively easy and inexpensive method.
- It can be used to produce a large number of plants quickly.
- The new plants will be genetically identical to the parent plant.
- It can be used to create a new plant with a specific shape or size.
- It can be time-consuming to root the cuttings.
- The cuttings may not always root successfully.
- Soleirolia soleirolii ‘Aurea’: Golden-green leaves that add a touch of brightness to any room.
- Soleirolia soleirolii ‘Variegata’: Delicate white and green variegated leaves that create a stunning display.
- Asperula orientalis ‘Nana’: Soft, needle-like leaves that form a dense, emerald-green mound.
- Galium odoratum: Heart-shaped leaves with a distinctive minty scent.
- Chlorophytum comosum ‘Variegatum’: Long, variegated leaves with white stripes.
- Ruscus hypophyllum: Leathery, deep green leaves with a glossy sheen.
- Tradescantia zebrina: Purple and silver striped leaves that add a touch of drama.
- Hypoestes phyllostachya: Oval-shaped leaves with vibrant pink, white, or red spots.
Division
Division is another method of propagating bridal veil plants. This method involves dividing a mature plant into two or more smaller plants. The best time to divide bridal veil plants is in the spring or fall when the plants are actively growing. To divide a bridal veil plant, follow these steps:
The advantages of propagating bridal veil plants by division include:
The disadvantages of propagating bridal veil plants by division include:
Air Layering
Air layering is a method of propagating bridal veil plants that involves rooting a stem while it is still attached to the parent plant. This method is often used to propagate difficult-to-root plants or to create a new plant with a specific shape or size. To air layer a bridal veil plant, follow these steps:
The advantages of propagating bridal veil plants by air layering include:
The disadvantages of propagating bridal veil plants by air layering include:
Bridal Veil Plant Varieties

Bridal veil plants, with their graceful foliage and delicate blooms, offer a diverse range of varieties to suit any indoor space. From petite, trailing plants to larger, cascading specimens, each variety showcases unique characteristics in terms of leaf shape, size, and color.
Trailing Varieties
Trailing bridal veil plants are ideal for hanging baskets or containers, where their delicate stems can cascade gracefully. These varieties typically feature smaller leaves and a more compact growth habit.
Bushy Varieties
Bushy bridal veil plants form dense, upright clumps, making them suitable for tabletop displays or as a groundcover in larger containers. They tend to have larger leaves and a more robust growth habit.
Large-Leaved Varieties
Large-leaved bridal veil plants make a bold statement with their oversized foliage. These varieties require more space and may need support to prevent their stems from becoming leggy.
Colorful Varieties
Some bridal veil plants exhibit vibrant colors beyond the typical shades of green. These varieties add a splash of color to any indoor space.

The bridal veil plant, with its delicate foliage and trailing growth habit, is a popular choice for indoor gardeners. To enhance its natural beauty, consider mounting it in a half circle wall planter . This unique planter’s curved design complements the plant’s cascading form, creating a captivating display that adds a touch of elegance to any room.
The bridal veil plant’s graceful tendrils will drape over the planter’s edge, resembling a flowing waterfall of greenery.
The delicate, cascading foliage of the bridal veil plant (Gibasis geniculata) brings an ethereal touch to indoor spaces. This native of tropical regions, including the lush rainforests of the Caribbean, thrives in warm, humid environments. Like many plants in the caribbean , the bridal veil plant benefits from regular misting and ample indirect sunlight.
Its flowing, fern-like leaves create a captivating display, making it a popular choice for terrariums and hanging baskets.
The bridal veil plant, known for its delicate, flowing foliage, makes a captivating addition to any indoor space. Its cascading tendrils add a touch of ethereal beauty to a coffee table, creating a sense of tranquility and inviting relaxation. This versatile plant complements various plants for coffee table , adding a unique and graceful element to any living room decor.
The bridal veil plant’s trailing nature allows it to cascade elegantly over the edges of the table, softening the hard lines and adding a touch of organic charm to the room.