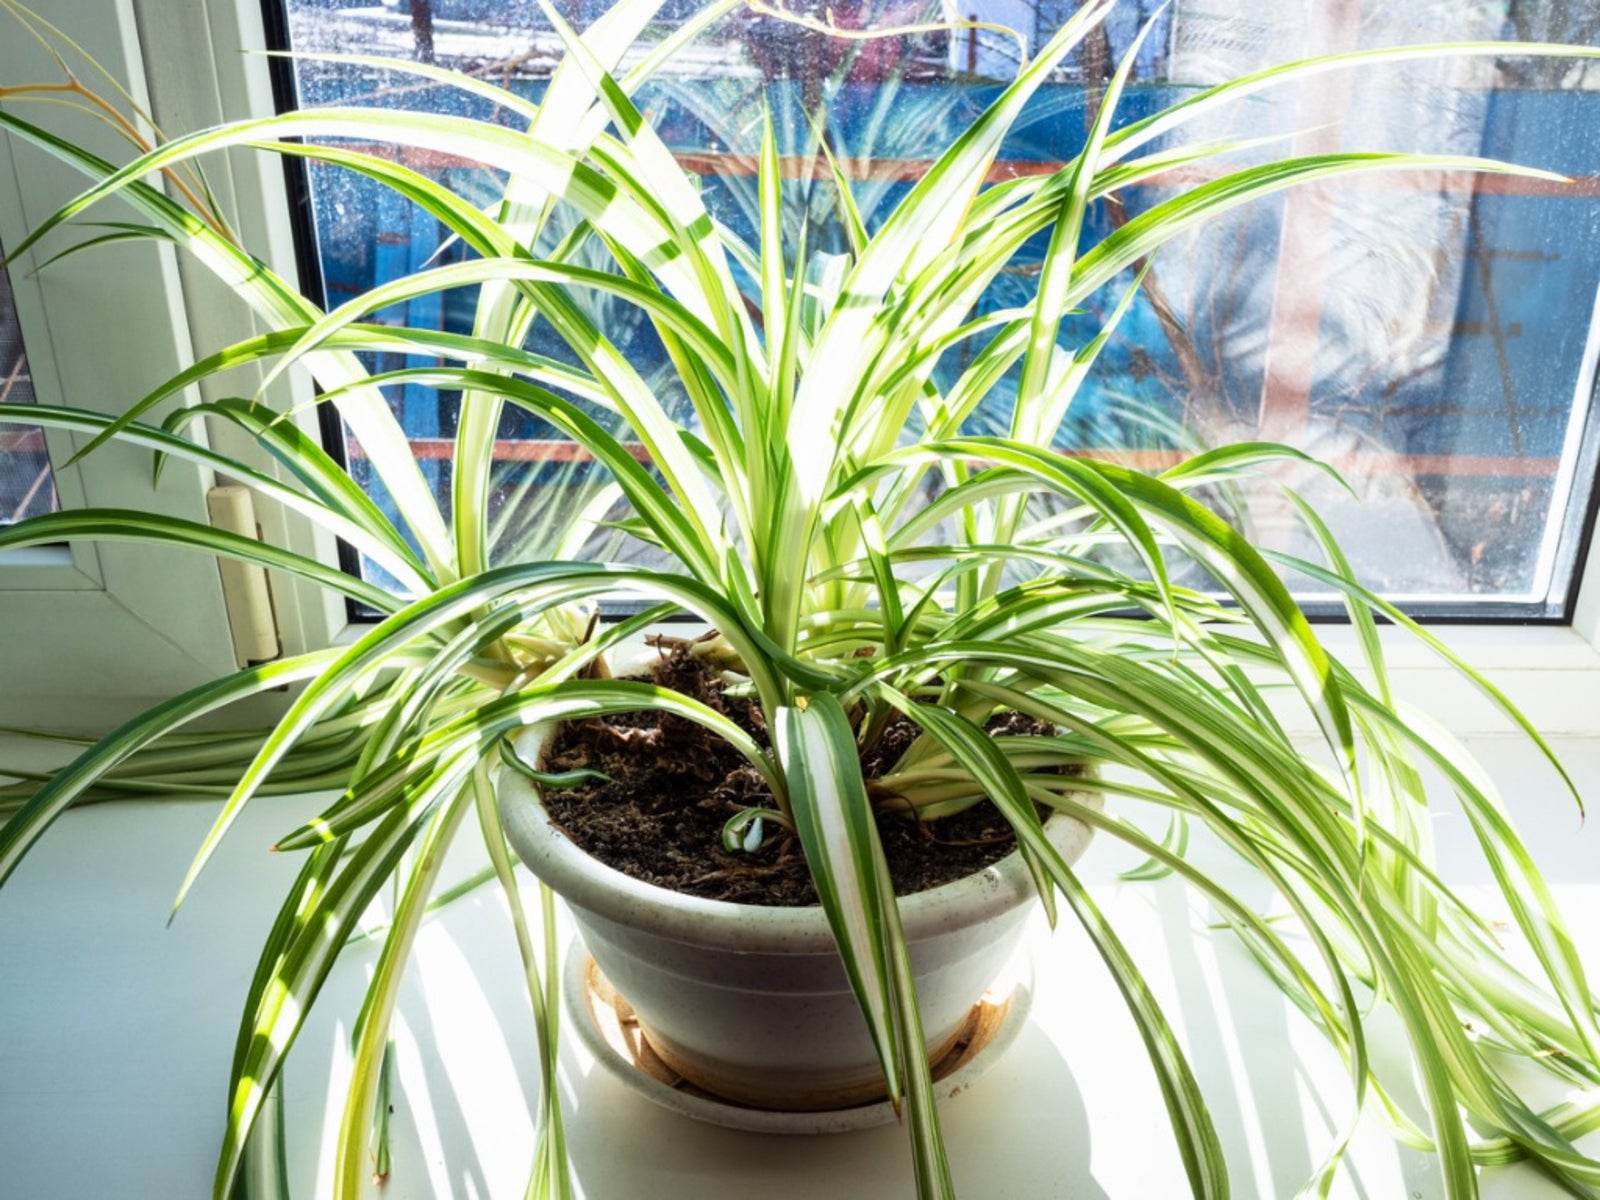
Spider plant seed pods, the intriguing structures that emerge from the beloved houseplant, offer a fascinating glimpse into the world of botanical reproduction. Join us as we delve into their physical characteristics, explore the art of seed pod propagation, and uncover their unique uses in home decor and beyond.
Spider Plant Seed Pod Characteristics: Spider Plant Seed Pods
Spider plant seed pods, scientifically known as Chlorophytum comosum seed capsules, are small, three-celled structures that develop from the pollinated flowers of the spider plant. These seed pods play a crucial role in the reproductive cycle of the plant, containing the seeds that will give rise to new spider plants.
Physical Appearance
Spider plant seed pods are typically about 0.5 to 1 cm in length and have a slightly triangular shape. They are initially green in color but turn brown as they mature. The seed pods are attached to the mother plant by a short stalk.
Structure
Each seed pod contains three compartments or cells, each of which holds one or two seeds. The seeds are arranged in a linear fashion within the pod. The seed pods have a thin, papery outer layer that protects the seeds inside.
Seeds, Spider plant seed pods
Spider plant seeds are small, black, and oval-shaped. They are about 2 to 3 mm in length and have a slightly rough texture. The seeds have a hard outer coat that protects the embryo inside.
Spider Plant Seed Pod Propagation

Propagating spider plants from seed pods is a rewarding and straightforward process that can yield new plants with unique characteristics. Here’s a step-by-step guide to help you succeed:
Step 1: Collect Seed Pods
Allow the spider plant to produce seed pods after flowering. When the pods turn brown and papery, gently twist them off the stem.
Step 2: Extract Seeds
Open the seed pods and remove the small, black seeds. Handle the seeds carefully to avoid damage.
Step 3: Prepare Soil
Fill a seed tray or small pots with a well-draining seed starting mix. Moisten the soil thoroughly before planting.
Step 4: Sow Seeds
Sow the seeds evenly over the soil surface and gently press them down. Do not cover the seeds with soil, as they need light to germinate.
Step 5: Provide Optimal Conditions
Place the seed tray or pots in a warm, well-lit location with temperatures between 65-75°F (18-24°C). Keep the soil consistently moist but not soggy.
Step 6: Germination
Germination typically occurs within 2-3 weeks. Keep the seedlings moist and provide adequate light.
Step 7: Transplant
Once the seedlings have developed a few true leaves, transplant them into individual pots with a general-purpose potting mix.
Troubleshooting Tips
Seeds Not Germinating: Ensure optimal conditions, including proper temperature, moisture, and light. Check if the seeds are viable by soaking them in water; viable seeds will sink.
Seedlings Damping Off: Avoid overwatering and provide proper ventilation to prevent damping-off disease.
Leggy Seedlings: Provide adequate light to prevent leggy growth. Seedlings grown in low light will stretch to reach light, resulting in weak stems.
Spider Plant Seed Pod Uses

Spider plant seed pods offer a unique and versatile element in home decor and gardening, with both aesthetic and potential therapeutic applications.
Ornamental Uses
The delicate, papery seed pods add a whimsical touch to floral arrangements, adding texture and visual interest. They can be used in terrariums, where their intricate structures create a miniature landscape. Seed pods can also be incorporated into wreaths, garlands, and other seasonal decorations.
Medicinal and Therapeutic Uses
Research suggests that spider plant seed pods may possess certain medicinal properties. They contain compounds that exhibit antioxidant, anti-inflammatory, and antimicrobial effects. Some studies indicate that extracts from seed pods may have potential in wound healing and skin care applications.